How to Clear Up Storage Space on Mac
Here, we came up with the 10 simple ways that will help you clean unwanted junk files stored on your Mac and free up space within a few minutes.
#1 Assess and Delete Old Files
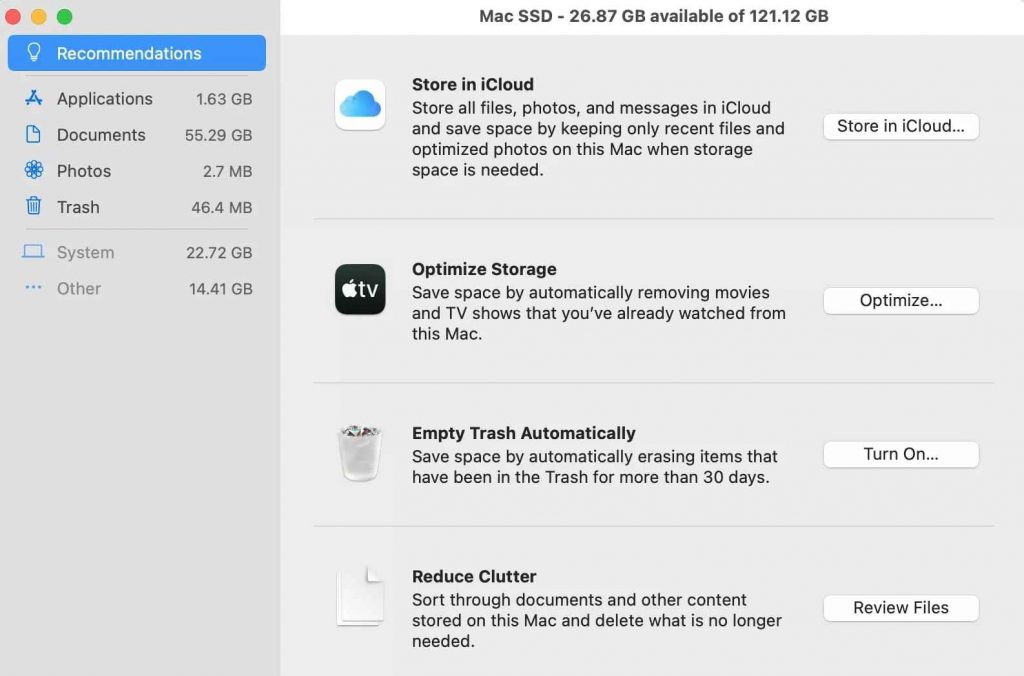
The bigger the Mac file you can delete now, the more space that you can enjoy for later. Hence, hunting for those large files that you no longer need can help to free up the disk space of your Mac. Just click the Apple menu and choose “About This Mac” to have an overview of which files are overeating on your Mac. By clicking on the “Manage Button,” you will be able to check the detailed breakdown of the files saved on your Mac. The life side shows the categories. When you click it, it will display all the data under it and the files’ size. Perhaps you will even discover that there are several gigabytes of videos you have used for old projects that are still stored, but you no longer need them. You might also come across massive iOS backups that can be traced back from devices that you no longer use or own. If you have optimized that these files are no longer needed, you can delete them to free up a decent amount of Mac space. Do not forget, though, to also empty the Trash folder after doing that. It can still add up to space if not taken care of.
#2 Free up Disc Space by Moving Files to Cloud
There may be instances that all of the files saved in your Mac are all important and that happens. If you are faced with such a dilemma, you can choose photos, documents, and other files to iCloud instead.
Go to the Apple Menu and click on About this Mac.Select the Manage button under the Storage tab.Click Store in iCloud, next to Store in iCloud.
Using Dropbox is also an excellent option for iCloud syncing. But it is best to check its settings to make sure that you are only syncing the necessary folders that you need. The most common files that are saved on the cloud and not synchronized on the computer are those that we do not access often and are just used for backup. By being particular about what needs to be synced or not in your Mac, you are also saving space on your Mac for more important files.
#3 Find and Delete Duplicate Files
Investigating your Mac drive is like looking into a kaleidoscope of past downloads that you had. You might notice that there are two or more of the same files. It can be that you have accidentally downloaded the file more than Manually looking for duplicate files can be daunting and time-consuming. Thus, you can use a 3rd-party app such as Gemini 2, Finder. Bear in mind that the licensed version of it can be quite costly. But its free trial can help you scan your Mac for possible files that have been duplicated and that you can delete. The premium version of the Mini 2 will automatically delete the files for you. On the other hand, the free version will let you delete files one by one. While it is rather laborious, it will give you the freedom to check first whether these files are right to be removed or not. Here is the step to delete the duplicate files using the Finder app.
Open the Finder window.Now, hover the cursor to the File and click on the New Smart Folder.Then, select the +button in the top right corner.Pick the files to check for duplicate files and delete them.
#4 Remove Caches and Impermanent Files
You might not be aware, but there may be many temporary files saved on your hard drive. These are being saved for the sole purpose of being easily accessed later. More so, despite the effort of clearing up caches, these will still come back up, especially with constant use of your Mac. Let us see the steps to delete caches from the Finder app
Navigate to the menu bar on the Finder app.Select the Go to Folder option and type ~/Library/Caches.Delete the files that occupy more space.
#5 Get More Disk Space by Emptying Localization Files
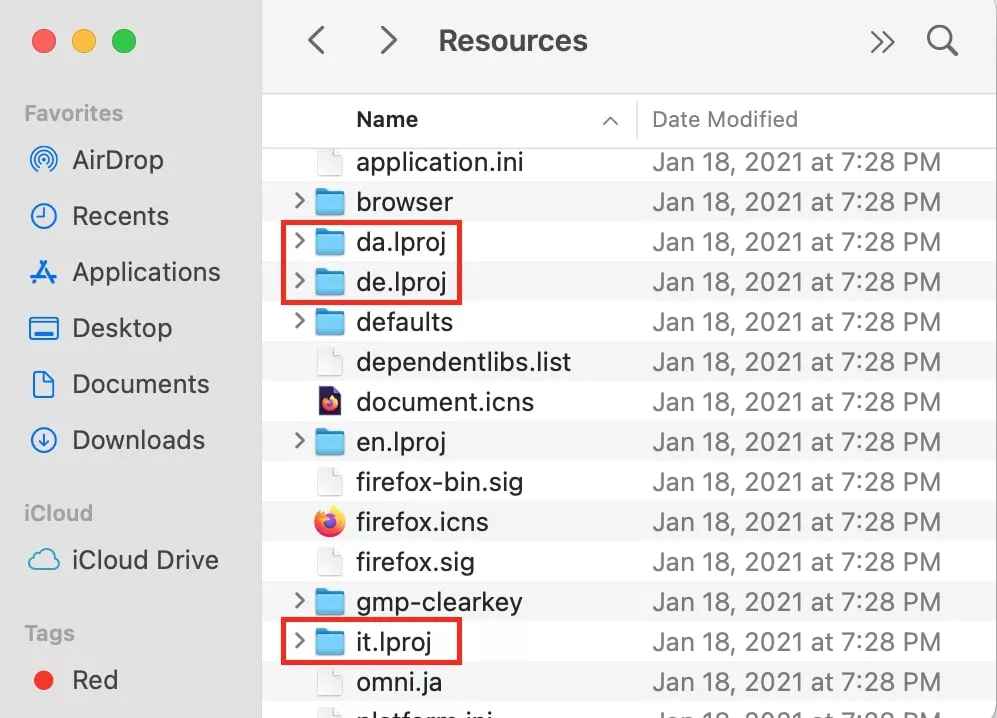
Localization files or language packs can be deleted on your Mac with the following steps.
Go to the Finder window and select Applications.Now, press Ctrl+click on an application.Select Show Package Contents and pick Resources.Find the files ending in .Iporj.Pick the language files that you don’t use.Drag them to Trash.
You can delete them with a click using CleanMyMac X
#6 Remove Unused Applications
Remove the unused or unwanted apps and their leftovers from your Mac, in order to free up space. To do this
Go to Finder and click on Applications.Pick the app that you wish to delete.Drag it to the Trash.Finally, empty the Trash.
#7 Enable Empty Trash Automatically
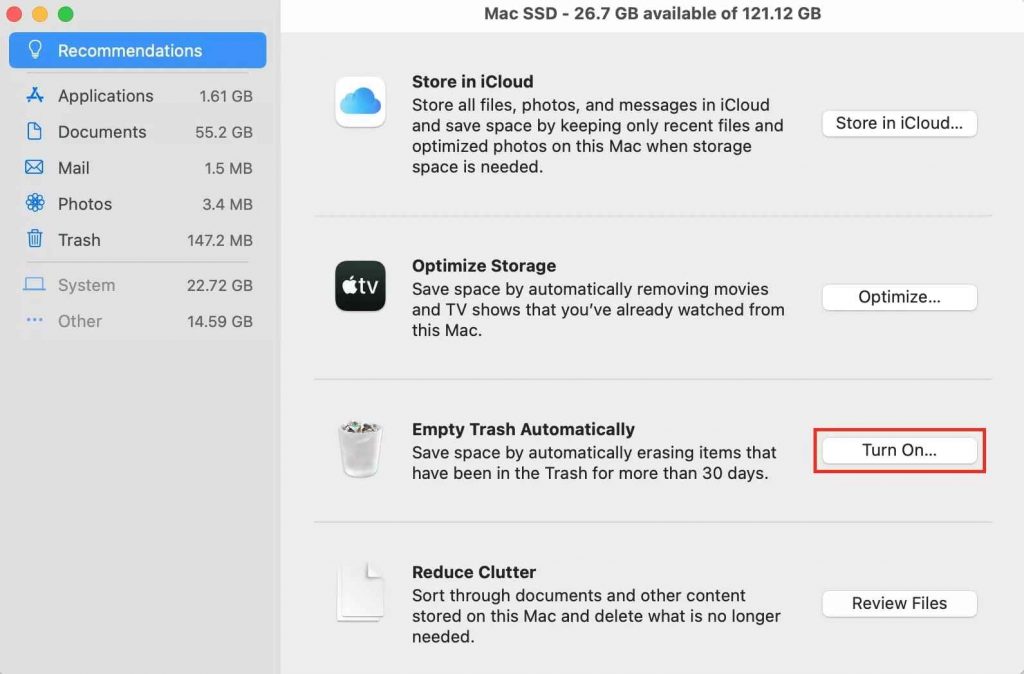
If you find any difficulty in emptying trash manually, you can set it to automatic emptying the Trash. However, the files will be stored for 30 days in the trash. You can restore it within 30 days, or else the file will be deleted permanently. And for this,
Go to the Apple Menu and click on About this Mac.Select the Manage button under the Storage tab.Click Turn on, next to the Empty Trash Automatically option.
#8 Clear the Downloads Folder
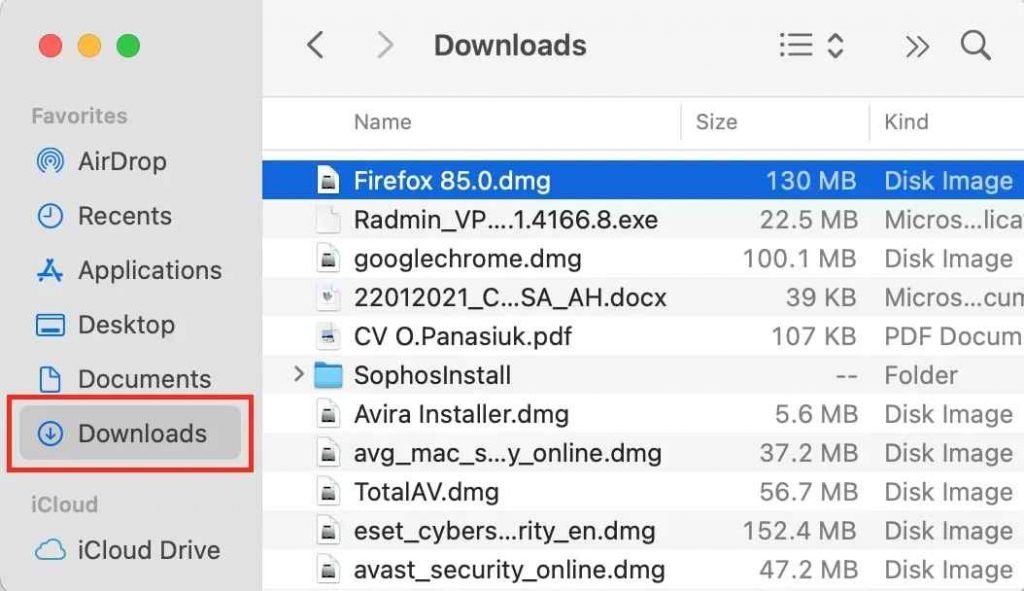
When we download apps, small junk files will be stored. And now it’s time to remove them. This will help you to free up space on your Mac. Here’s what you need to do.
Open the Finder window and select Downloads.Right-click on the files that you don’t use.From the drop-down menu, pick the Move to Trash option.Then, Empty the Trash.
#9 Delete the Mail Attachments
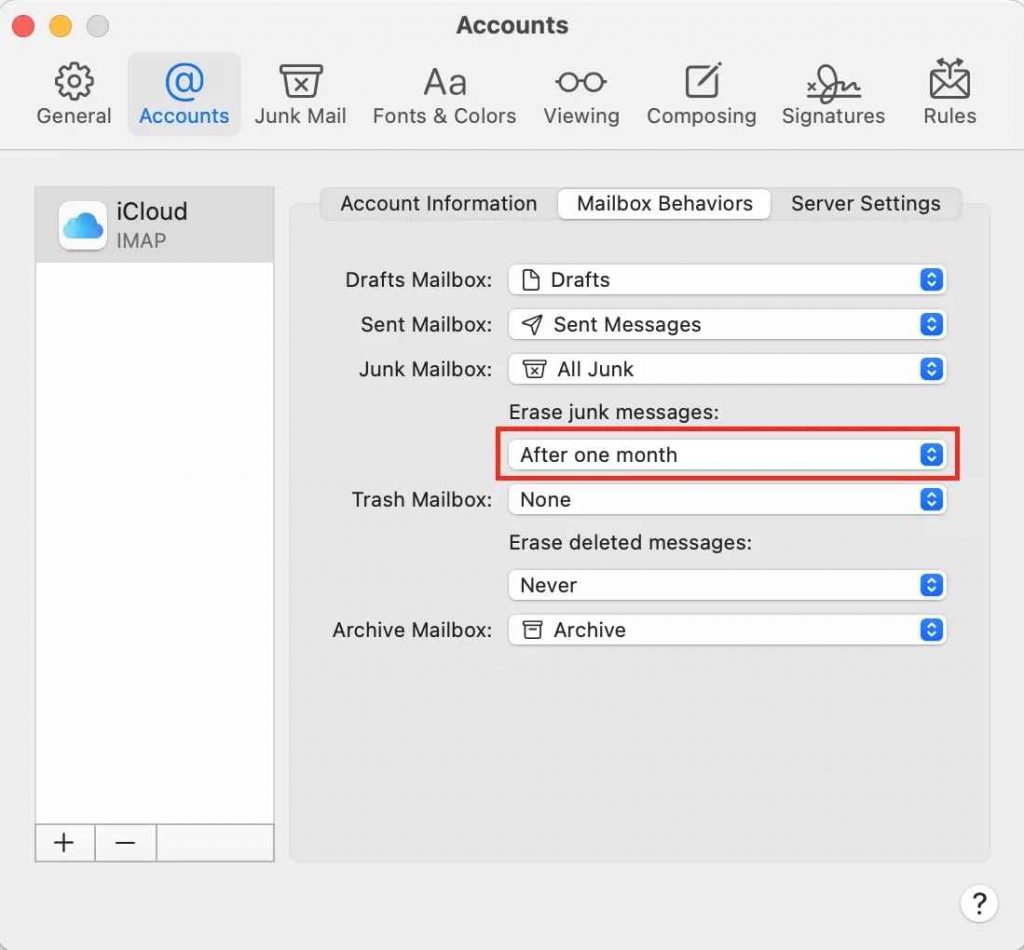
Clear the mail attachments and the unwanted large files attached with the mail to clear the extra gigabytes stored on your Mac. To do this,
Go to the Mail app and select Preferences.From the General section, pick the Remove unedited downloads option.Now, choose After Message deleted from the drop-down menu.Once you delete the mail, this will not leave any junk files.
#10 Use External Drive
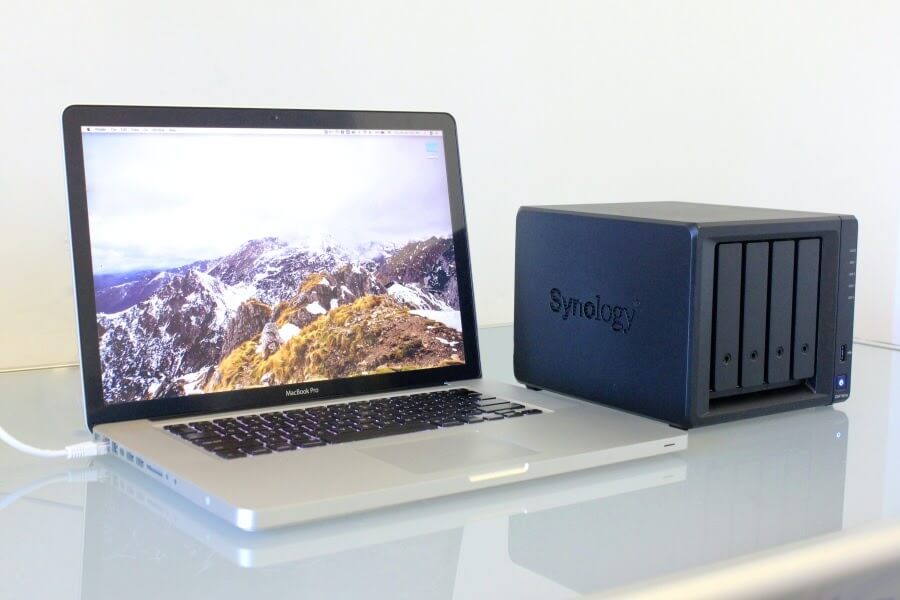
If all else fails, your last option could be to get the best external drive for upgraded storage. Now you can free your Mac only with the essential files that you need to stay in your drive. And you can have your external hard drive handy if you have big projects that entail big data to be used.

